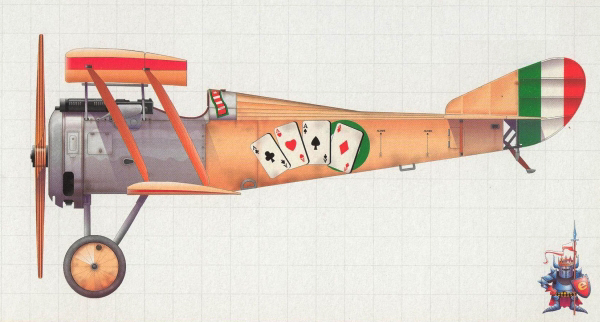
The Hanriot HD.I was supposed to be the follow-on competitor to the successful Nieuport 17 single seat fighter. But as it was being developed at the same time as, the soon to be famous, SPAD 7, it was not ordered into production by the French. The aircraft eventually found its way to both the Italian and Belgian Air Forces where it enjoyed a successful career. Several successful aces such as Willy Coppens who started their careers with the Nieuport fighters preferred the agile Hanriot to other aircraft.
More about Hanriot HD.1 on wikipedia

The kit is Eduard's Hanriot HD.I Weekend edition kit (8402). It consists of only injected molded plastic parts and decal option for an Italian 85 Squadriglia. The plastic parts are high quality and the instruction sheet is the four page diagram assembly with the colour guidelines (exept the 3-view camouflage page you have to pick from the box), and a cross reference to Mr.Colour paints.
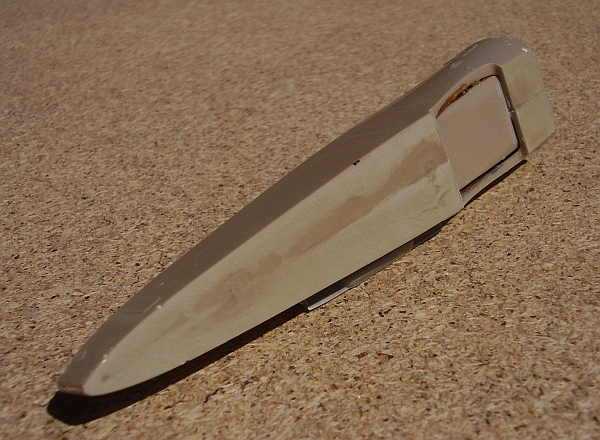
I did follow the instructions so I started with painting the details of the cabin parts with aluminium with some black and "wood" details. I Continue with the cabin details assembly and when finished, I glued together the fuselage halves to find out, that from the cockpit you can't see almost anythin :). There was first little problem, as the bottom of the fuselage needed some putty to correct the plastic misshape (as you can see on the first pic).
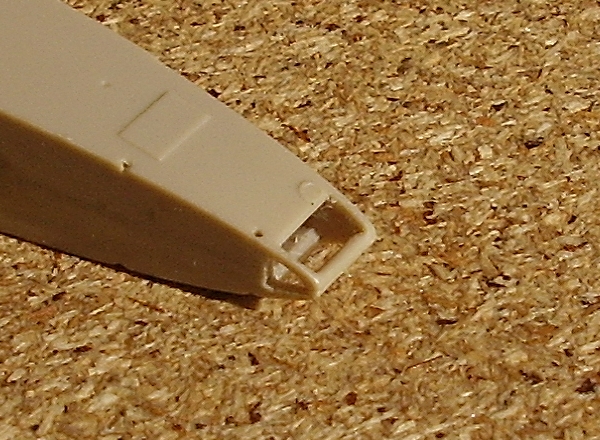
I Continued with the tail detail, as there is the only bigger error. On most of the photograhs (and on the boc picture too!), the end of the fuselage is opened with visible construction. I cut the hole in the plastic and used wire to make the construction of the tail.
Then I took a sirange needle and drill the holes for the wires to the wings and fuselage.
The weekend edition makes the selection of camouflage easy. The aircraft is, apart of the metal covering of the engine and front fuselage, in the linen colour mostly, with the red and green used on the top wing.
I painted the top wing separately. I masked the front of the fuselage the edges of the top wing and sprayed both parts with the mix that represents the linen (sand, with touches of red and yellow). I left the colour dry properly. I masked the sprayed areas of the fuselage and sprayed the front fuselage with aluminium humbrol 29. The top wing was a bit harder. You need to mix the red and green to match to the colours of the insignia.
After drying up, I sprayed both part with acrylic clear gloss to separate the enamel from oil paint I use to make the various shades. Next come the decals and another spray of the clear gloss.
June 2009