The De Haviland D.H.100 Vampire was the first British single engine jet, It's prototype took of in September 1943 and was ordered to production in May 1944, to late to participate in the fights of WWII, but serving well after the war in various countries. With front line RAF squadrons until 1955 and continued in use as a trainer until 1966. Developed into night fighter version NF.10 (D.H.113), trainer and Navy version. These versions were used by Australia, Austria, Canada, the Dominican republic, Egypt, Finland, India etc. The last Vampire in service were those which served in Switzerland - were retired in 1990!
Almost 3,300 Vampires were built, a quarter of them under licence in other countries and fighter, night-fighter and trainer versions were produced as well as the naval Sea Vampire variants. The farther development of Vampire was the De Haviland D.H.100 Venom fighter-bomber.
I mostly do the piston aircraft but the inspiration of a nice Xmass story called The Shephard by Frederick Forsyth was too tempting. As I missed the single seat version, I turned my interest to the night fighter.
For more on history: D.H.113 Vampire NF.10 on wikipedia
Very nicely molded short-run I would say. Box contains 18 resin parts (interior, wheels and wheel bays, air intakes), 38 plastic parts and injected canopy. The plastic is a bit too hard. I don't check for the proportions and I didn't do it with this kit either.
Two decal sheets provides stencils and insignias for three aircraft, two of RAF (23rd squadron and 151st squadron) and one Italian, used as a trainer at Schoula Turbogetti.
The building manual is quite clear but what I missed is the colour sheet of for the camos.

I started according to the manual with the parts of interior, cleaning the resin parts, glued the pilot seat to the cockpit floor and paint the set (I looked for some reference and found on web photos of the single seat Vampire. These photos showed silver background and grey black devices. But the night fighter version had probably diferent colour scheme. I glued the parts of the separated gauges and pedals (you need to saw off quite a bit of resin stand to fit the pedals between the panel and the floor) to the instrument panel and painted this set as well. I used grey-black again. I scratch made the seat-straps from the wine bottle tin and paint the beige colour. The gun-sight is not provided in the kit and I had to make it from the clear plastic, unfortunately there is not much to help you with the size of it, so I just used the Spitfire sight as reference.

The hardest part came next, dry-fit the cockpit sets takes a time then I tried to glue the right side panel to the to the right side of Fuselage, another dry fitting showed the place where to glue the left panel to the left fuselage then I glued the parts to the places and painted them, again grey-black with some wash and silver dry brush.
The exhast pipe was too narrow so I made it wider with a bit of plastic to fit the rear fuselage and glue it to the left side of it (painted the inner side with gun-metal and black Revell enamels and with a bit of silver and 'rust'). Next I glued the painted stick to the cockpit floor. It took another time to fit the main instrument panel and glue it to the fuselage. Then I glued the both fuselage halves together and fixed it with the tape.
While I was waiting for the cockpit parts to dry up, I put together the nose, making the weight (you have to guess how much you actually need). I glued the nose parts together (not the forward wheel bay though) and used a bit of Miliput and some led wire put in the nose (remembering the mentioned wheel bay). It needed little bit of sanding and repair of the panel lines, but nothing dramatic.
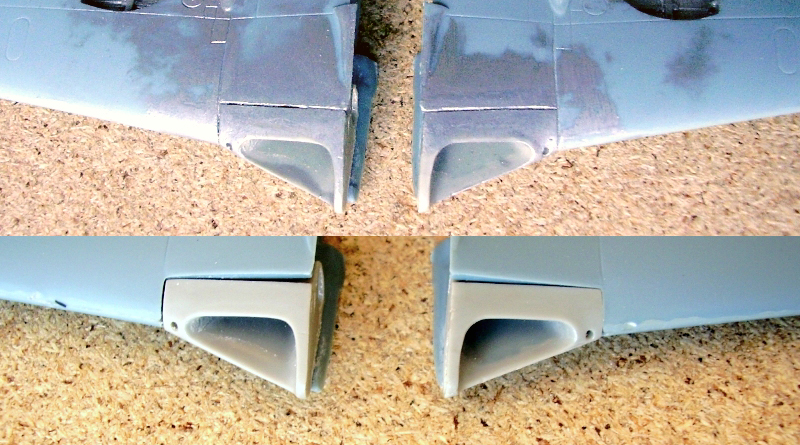
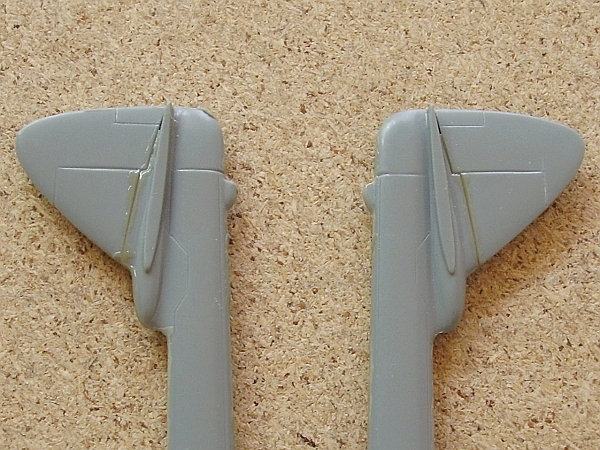
The drying time allowed to make the wings and tail. There is a problem with the wing roots around the intakes, but I manage to fix it with the super glue and a bit of force (I might needed to sand more the wheelbays, but I didn't do it). The tails needed a bit of putty and to repare the panel lines.
When I had the fuselage and wings ready to put together, I found out to that the wing roots doesn't fit to the places on the fuselage and it took some time to find out how to fix this. When done, I glued the tail parts and elevator, again, it takes trying (I used wooden 'aligment device' I made for this purposes).
So I had done main construction done, and at this point I masked the cockpit and sprayed the whole model with Surfacer 1000 to see the eventual errors around the glued places. While the Surfacer was drying, I assembled and painted the wheel sets and left them aside to be glued to the bays together with framed canopy until the model is painted.
I have chosen the 151st squadron markings, so it is a standard RAF schema. I made some preshading using Humbrol very dark grey enamel (I actually mixed black with little bit of white) and left it dry. Then I hand sprayed the green camo model with the Dark Green Humbrol and when dry, I used the Tamyia tape and paper to mask it and sprayed the rest with the Humbrol Ocean Grey. I left the paint to dry overnight. Then I sprayed the whole model with gloss varnish and again left it to dry few days. After applying the decals, I took the black oil and slightly painted the panel lines, left it to for some minutes and wiped it. After another time of drying I sprayed the model with the mixture of the gloss and matt paint to get the surface unified. I glued the undercarriage and canopy with the super glue - and done.
I was very pleased with the kit, although it is not 'Tamiya', with little bit more affort you get nice model of an interesting aircraft. Regarding that I usually do out-of-box kits, I added only seat belts and few hydraulic tubes and wires to the wheel bays.
September 2009
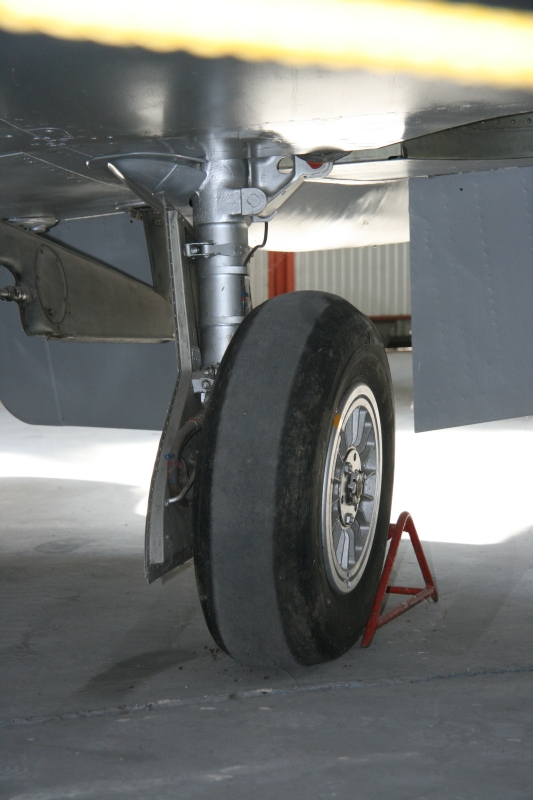
Vampire F.B.6 in Air muzeum Kbely, Czech republic
|
|