
Kit consists of some 30 resin parts, 14 photoeched part (seatbelts, instrument panel etc.), film for instruments and two clear canopies. Decal sheet provides camo for famous Bulgarian nr. 5 and nr. 11. The yellow resin parts are clean and good quality. Two page manual is minimalistic but as the nr. of parts is not high, it provides good reference. But I recommend to use references from the book Avia B-35/135 from MBI publishing which is not only in Czech but in English as well.
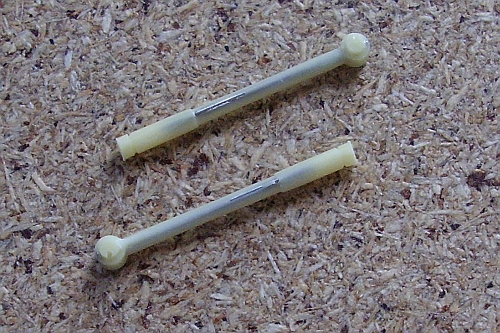
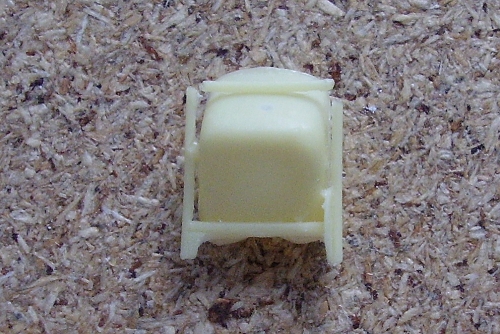
I started by checking the parts and cleaning them. In my kit were few errors. E.g. the seat tubing was not complete and the wheel legs had visible metal wire support but the reparation wasn't too difficult. There were few bubbles here and there but nothing serious.
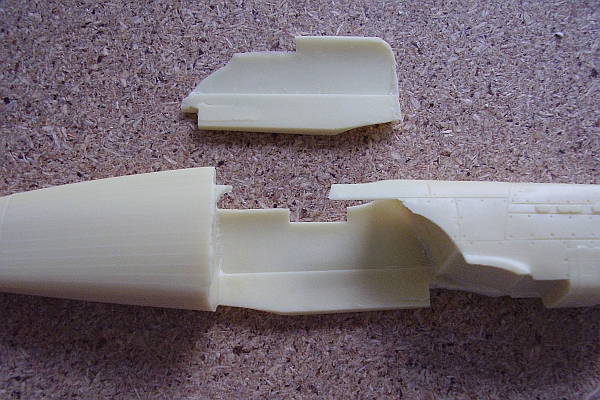
The biggest problem I caused myself when cleaning the fuselage, I managed to break off the whole cockpit side as the walls are really thin. Nevertheless this accident helped me later during the fitting of the cabin floor (well, it is important to take the better side of problem, I guess)

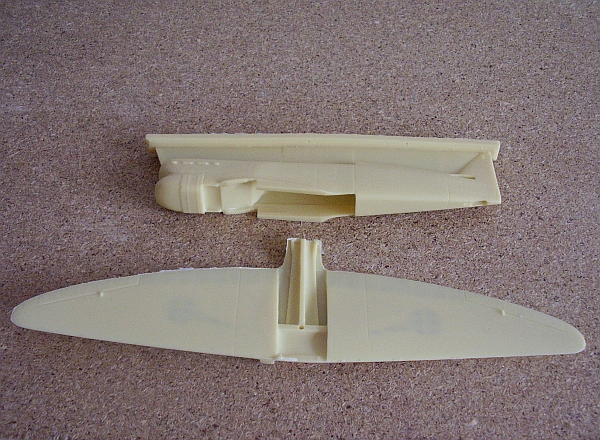
So I cleaned the big parts (fuselage and wing) and continued with the details. The covers of the main gear has four PE bits each to glue on. Other PE parts have the main gear legs. I flattened the tires just by sanding off some resin.
I painted the interior parts, flaps, wheelwells and wheel covers with light grey HUmbrol enamel H28 and after drying up made some shades with black oil wash.
I assembled the instrument panel, glue it to the place (it takes some trying and sanding of to fit), then I glued the side panels of the cockpit. Attached the seat (I made a support for it from a peace of resin to assure it wouldn't fall off) to the floor, I glued the floor to the cockpit.


Then came the hard part - repair the broken side of the fuselage. After some effort I managed to glue it to the place (SUrfacer 1000 did the rest). Next I glued the wings (again trying-and-sanding-to-fit steps are needed) with some Miliput to fix the gaps. I drilled the exhausts pipes too. At this point I masked the wheelwells and sprayed the seems between the fuse and wings with surfacer 1000 to find out and correct the marks of sanding.
I cut off the elevators of the fins and glued them in lowered position (when the kit was done, I found out the angle is probably to big, but wasn't bothered to repair it). Then I glued the fins to the tail. Then again I took the Surfacer 1000 and sprayed the whole model.

At this moment I continued with painting. I used the Gunze acrylic and enamels to do the job. As I wanted to make sort of combat worn out aircraft, I sprayed the metal parts with silver Revell 90 enamel as well as I used for the wood and fabric parts the GUnze H66 one as a primer. After leaving it for two days, I continued with camo. First came Gunze Middle Stone H71 with touch of yellow H4, then Khaki H80 and last Red brown H47. The undersides I sprayed with Light grey H51. Then I sprayed all the model with the gloss varnish over the camo before applying the decals.
After a day f drying I started with the dirt, scratches and other marks of combat used aircraft. I used again Revell 90 and Gunze H66. When dry (especially the silver needs at least 24 hours) I took to oil paints, black (for underside), siena and ochre (top camouflage) and using the "dots-wash" method I dirtied the whole surface of the aircraft. The oils need another 24 hours or more, so I left it to dry and then I sprayed to model with matt Humbrol varnish.
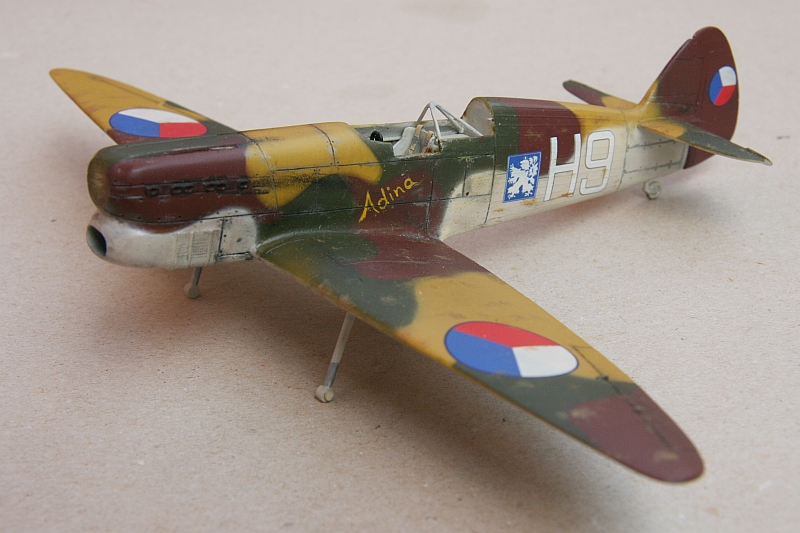
The personal name "Adina" is hand-painted with Gunze yellow H4. I found the acrylic paint very efficiant for doing that, as you can wipe the bad bits off with harder brush moisted in water.
Now it came the time to glue the details to the undercarriage, cockpit sidedoors, screw, antena and cabin to finish the model. .
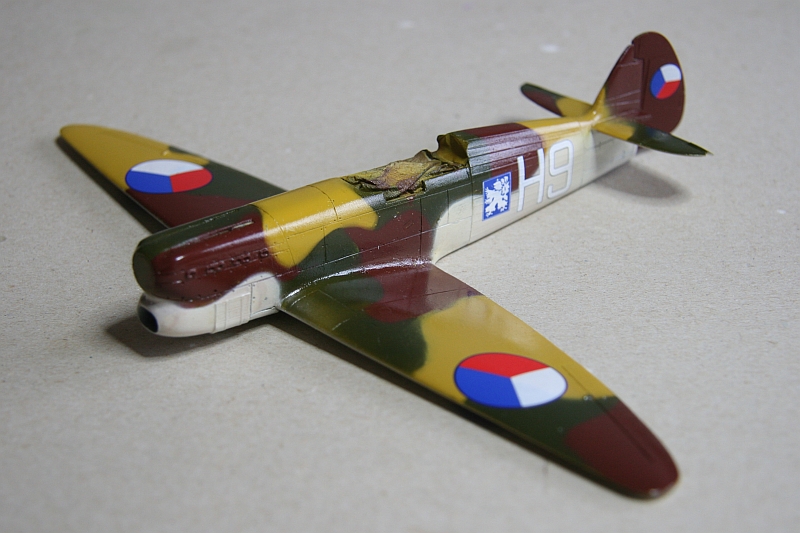
As you could read in the history, this aircraft never flew in Czechoslovak marking, all those you can see in different kits of Avia B-135 are made up as what-if. As I wasn't interested in Bulgarian markings, I made up another one :) and put together two of my hobbies, as I used the aircraft for the fictive diorama with the scene where the Czechoslovak ace meets his girlfriend, famous actress.
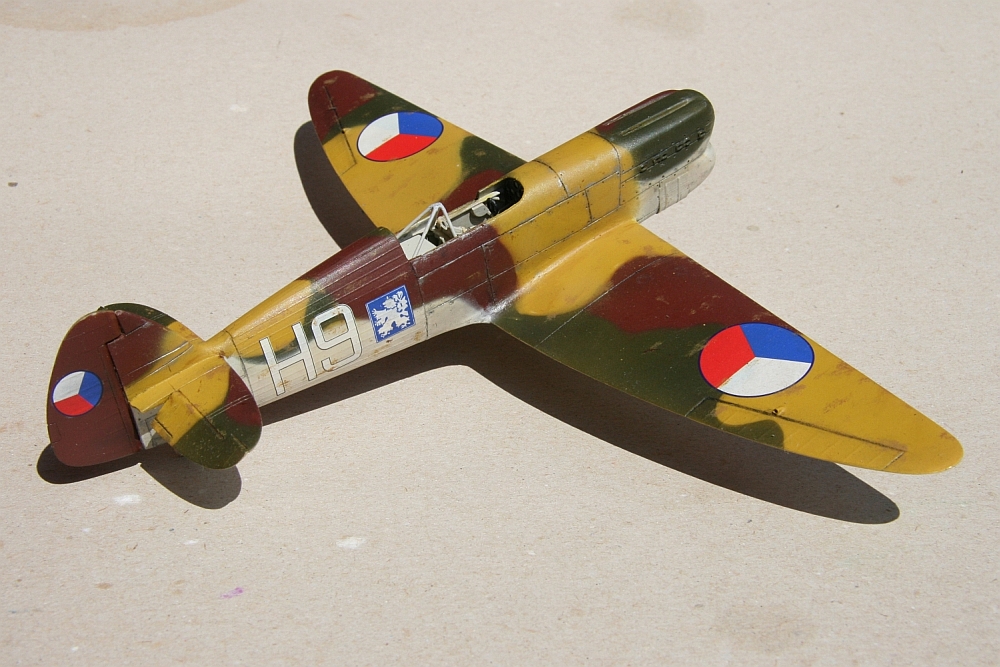

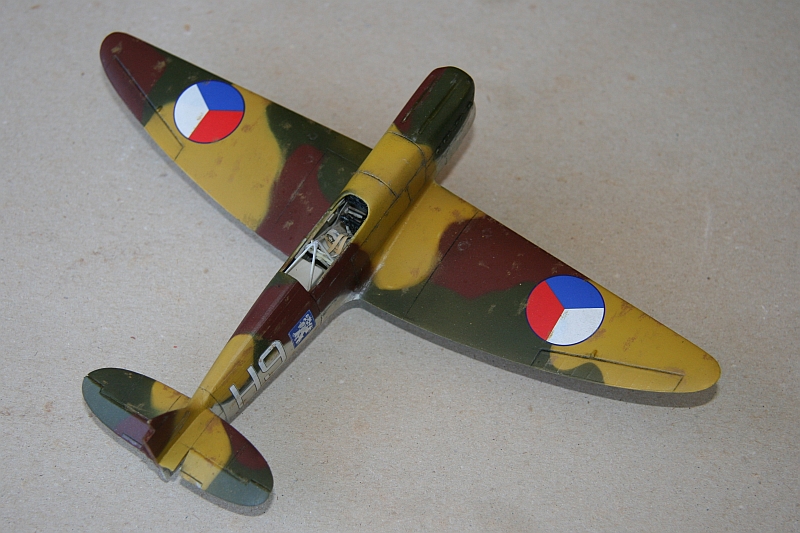
As a camouflage source I used the standards typical for the Czechoslovakian air force in late thirties. Bottom surfaces are light grey and top are combination of Ochre, green and brown. I used the cocards insignia, numbers and squadron signs from AZmodel sheet for Avia B-534. The personal name of the aicraft is handpainted.
The spinner is painted with Gunze yellow H4.
The kit is quite well made, Although somehow simplier than the resin of Avia B-534. There are some errors, for example missing suports for the main undercarriage, wrong shape of cabin, but it still makes quite nice model. But with existence of the plastic kit I don't suppose there will be a lot of these around. I strongly recommend to use the above mentioned book Avia B-35/135 from MBI for reference.
The photos of diorama and its story is here.
June 2009